This was a preventative replacement. The original alternator was working. but since it’s 23 years old with 86,000 miles on it, I’d rather replace the alternator at home in my driveway where I can work on it at my leisure, rather than on the side of the road, when its cold, rainy and cars flying by at 80mph.
I compared the cost of a refurbished vs a new one, it was only about $30, so I decided to go for the new one. And, I get to keep my original as a spare. REMY # 92320 is a 130 amp alternator. I believe my original is a 90 amp alternator.
NOTE – If your serpentine belt is also original, I’d replace it too..
Total time from start to finish was about 45 minutes. The only tool needed was a 10mm socket wrench.
- Remove all power from the coach. Disconnect chassis and coach batteries using the disconnect switches. Remove shore power cable. Physically disconnect the chassis battery.
- From underneath, loosen / remove the serpentine belt. Use a 1/2 inch ratchet handle, pull the tensioner down. slide the belt off of the A/C compressor pulley.You won’t be able to get to the two connectors and the main power cable until you remove the alternator.
- Remove the alternator by removing the three bolts from the bracket on the rear of the alternator, remove the two front main mounting bolts
- Remove the main power cable, 10mm nut. To release the clips on the connectors, I used a small knife, slide it under the locking clip and pried it up just enough to release the clip.
The alternator is now free to come out. Install the new alternator in reverse order.
After everything is reconnected, run the engine. Watch the engine gauges to verify the new alternator is charging. Double check with a voltmeter, The chassis battery should be charging greater than 14.5 volts.

Replaced mine at 102.000 miles. As you say, just to avoid future issues.
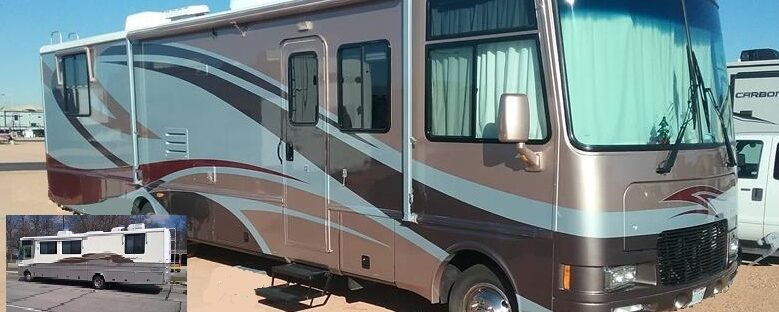
1999 Southwind Storm 30